The first meeting focused on getting sensor readings from a moisture sensor, turning on LEDs, and setting the position of a servo with PWM. All of it was done on the Arduino Uno. Often times we want multiple systems to work together, so for this meeting, we'll focus on integrating some existing tools along with our own modifications to communicate between a webpage we built and the Arduino Leonardo. An important takeaway I want everyone to understand is that you can use existing tools in coordination with your own. If it's already been written and is available, it's often advantageous to use existing and proven systems rather than creating your own from scratch.
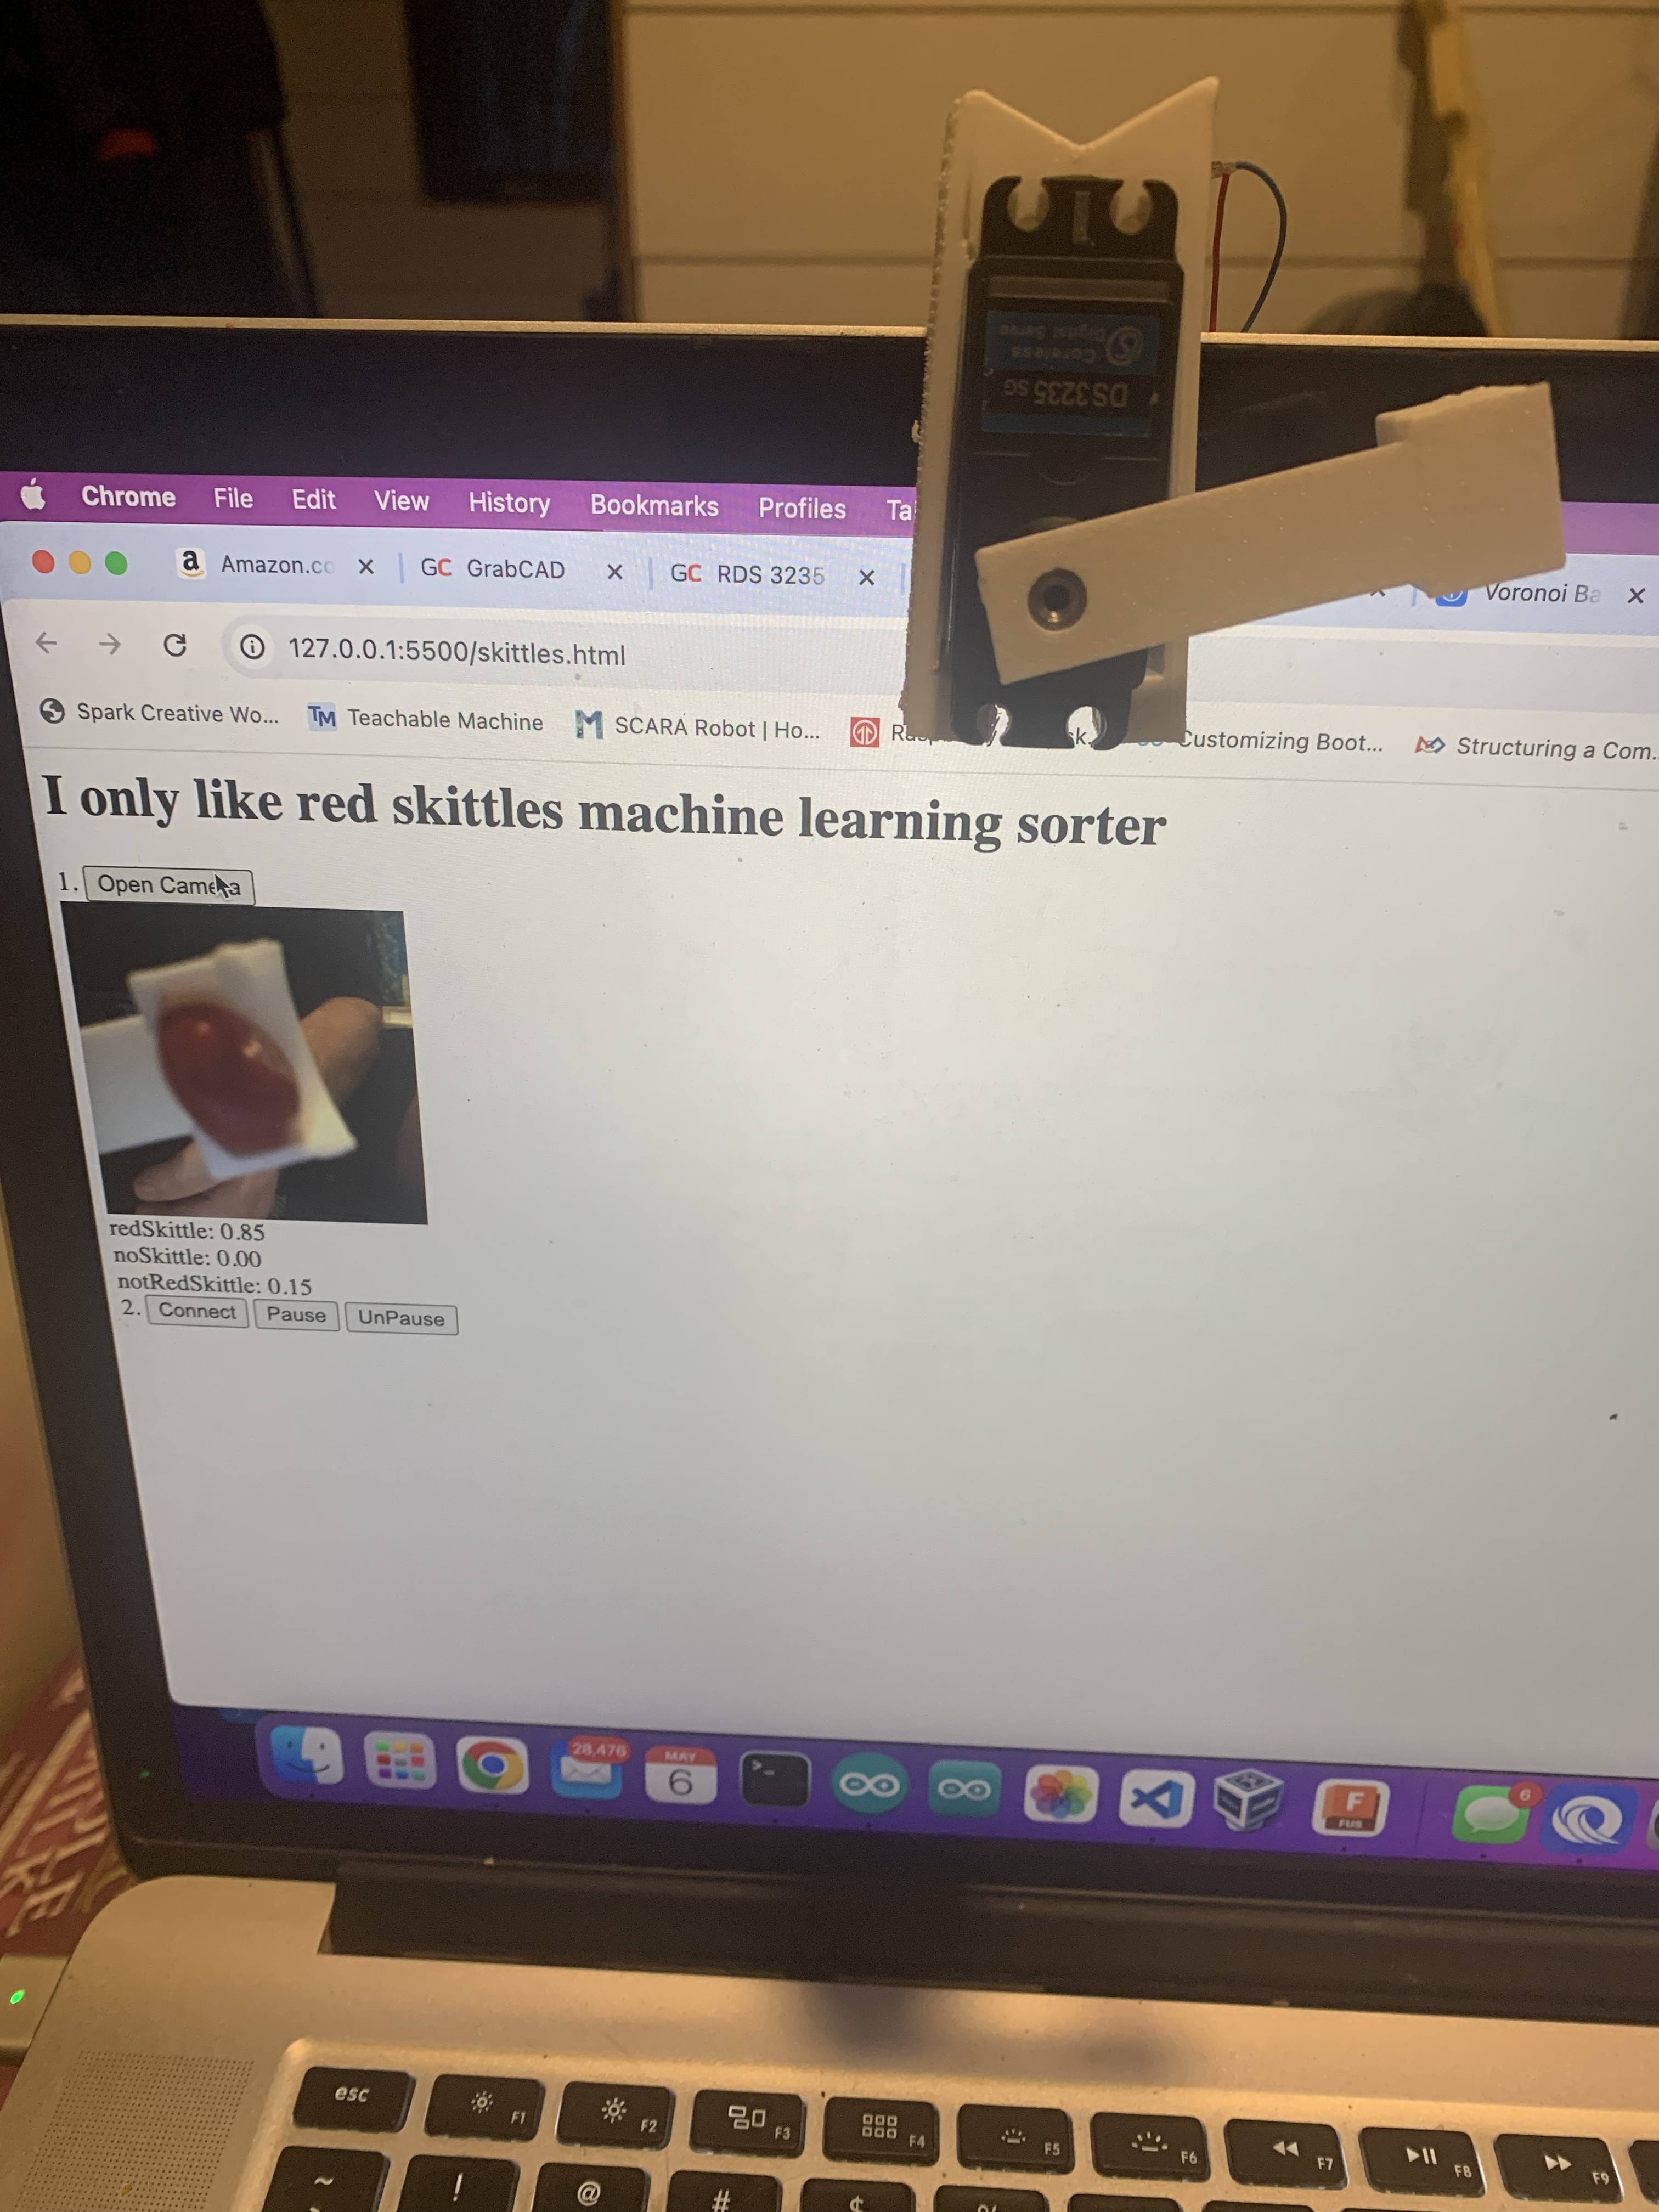
This time we'll build a skittle sorter that sorts skittles using computer vision with a model we'll train on Google's "Teachable Machine". We'll use an Arduino Leonardo and communicate between JavaScript on a webpage and the Arduino code running on the Leonardo. For my example, I want to only keep red skittles and dump all of the others into a reject pile.
I designed a skittle slide that uses a vibration motor to drop one skittle into a swinging arm attached to a servo. After the vibration motor slides a skittle into the arm, the servo will move the skittle in front of the camera. Depending on what it sees ('red skittle', 'no skittle', not red skittle), we'll tell the servo to move all the way to the left to "keep" the red skittle, all the way to the right to "dump" the non-red skittle, or if there is no skittle detected, it will return to the pick-up position and run the vibration motor again.
Level 1 Assembly - inserting the vibration motor, servo and arm onto the slider assembly and then the slider assembly onto your laptop screen where the arm can be seen by the camera.
Level 2 Training your Teachable Machine model to recognize the three states (red skittle, non-red skittle, or no skittle)
inserting the vibration motor, servo and arm onto the slider assembly and then the slider assembly onto your laptop screen where the arm can be seen by the camera.
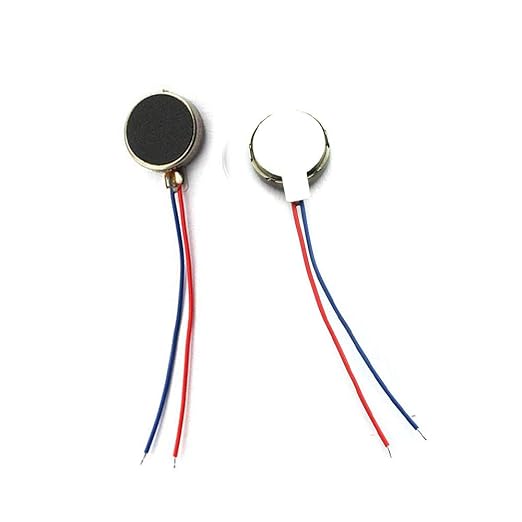
Fig.1 - Vibration Motor.
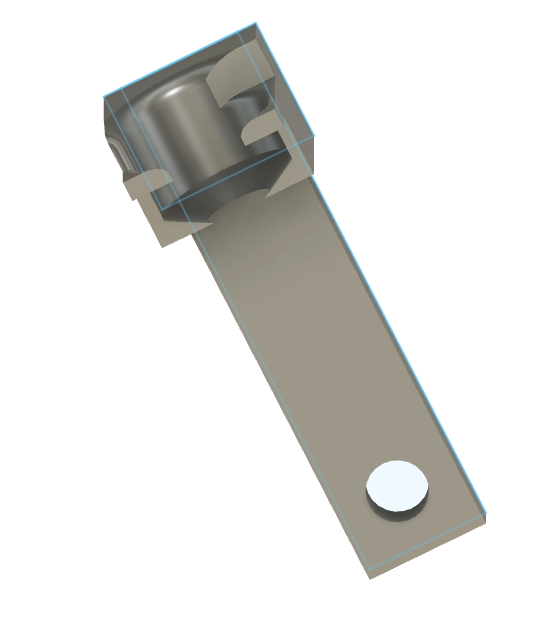
Fig.2 - Skittle Arm.
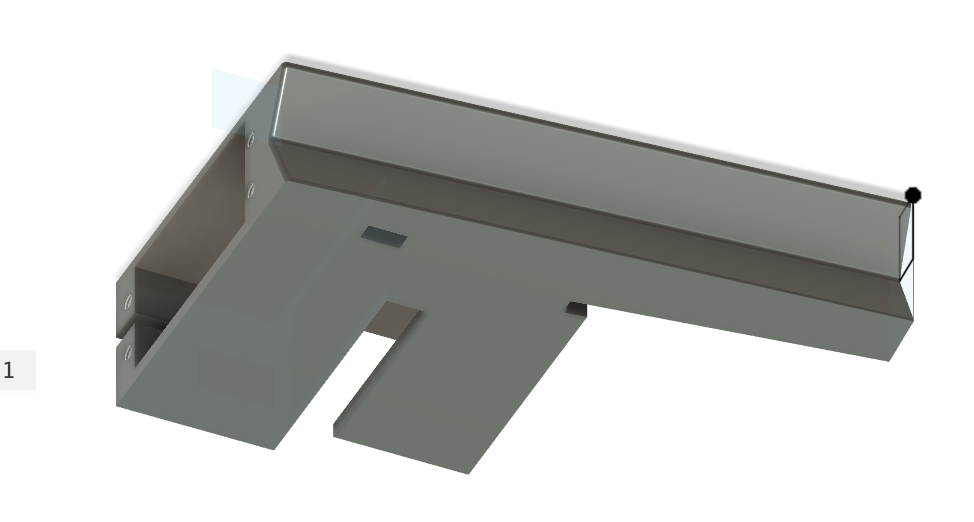
Fig.3 - Skittle Sorter Slide and Mount.
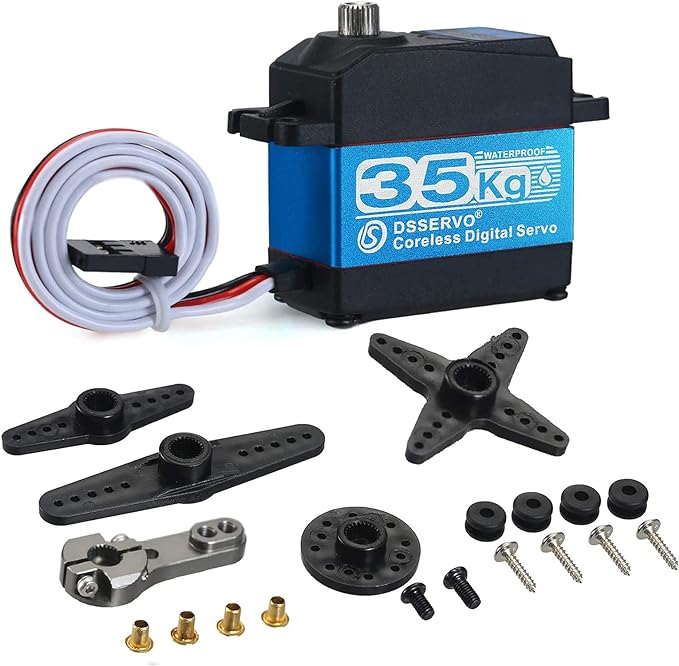
Fig.4 - Servo Motor.
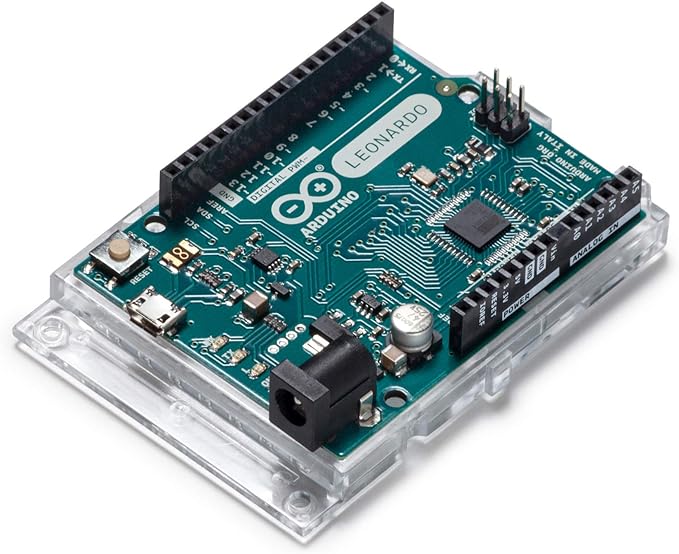
Fig.4 - Arduino Leonardo.
Assembly Instructions for Skittle Sorter
Insert the vibration motor into the Skittle Slide/Mount:
The slot in the Slide/Mount is slightly undersized and we heat/melt the PLA slightly to properly insert the vibration sensors
Remove any support material that was added during the printing process
Use a heat gun, lighter, or soldering iron with a tip for heating PLA to heat the PLA at the slot (do not overheat)
Slide the vibration motor into the slot and keep it still while the PLA cools to securely hold the vibration motor in place.
Insert the servo into the Skittle Slide/Mount:
Pay attention to the wires, they should slide through the slot in the Skittle Slide/Mount (gently pull the sides apart to allow the wires to fit, being careful not to break the mount)
Slide the skittle Arm over the gear of the servo (we'll likely remove and re-adjust the position later, just make sure not to strip the hole on the arm.
Connect the wires for the vibration motor and the servo to the Arduino Leonardo:
Note: This is a different Arduino than we had before, we are using a Leonardo for this meeting because a Leonardo can be seen by your computer as being a human interface device (like a mouse or keyboard, - this allows us to have two way communication with our code between the computer and the Arduino!)
Attach the black wire from the servo to a Ground pin on the Arduino Leonardo
Attach the red wire from the servo to Vin pin on the Arduino Leonardo
Attach the white wire from the servo to Pin 3 on the Arduino Leonardo (Any PWM pin would work, but our code will be using pin 3)
Attach the blue wire from the vibration motor to a Ground pin on the Arduino Leonardo
Attach the red wire from the vibration motor to a pin 4 on the Arduino Leonardo (Any Digital pin would work, but our code will be using pin4)
Place the Skittle Slide/Mount onto your laptop screen to ensure it fits.
That's It! Congratulations, If you followed along you have assembled the Skittle Sorter and now we're ready to train a computer vision model!
Go to Level 2Level 2 - Training in Your Vision System
Select Model Type: Choose an Image project, and use the standard image model (NOT the embedded image model)
Webcam Setup: Prepare your webcam to capture images of skittles. Ensure good lighting and a clear view of the skittles in the Skittle sorter arm.
Training Setup: Create 3 Classes: red skittles, no skittles, and non-red skittles in your space for training. Capture several angles and orientations of the skittles
Train Your Model: Initiate training by selecting "Train Model". Teachable Machine will use captured images for training the model to distinguish between the three classes.
Model Evaluation: After training, test your model's real-time performance using the webcam feature to identify red skittles, no skittles, and non-red skittles. Adjust and revise your classes and re "train" until you are happy with the results.
Export TensorFlow Lite Model: Once satisfied with the model's performance, export it as TensorFlow Lite. This lightweight format is ideal for deployment on mobile and embedded devices.
Integration: Move on to level 3 to start our integration!
After completing level 2, you should have an assembled skittle sorter and a trained computer vision model. Now we'll start on the Arduino Leonardo.
Fig.10 - Arduino Leonardo.
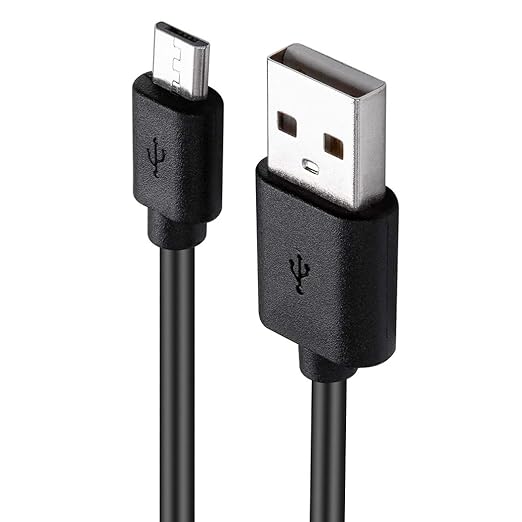
Fig.11 - Micro USB.
Plug one end of the Micro USB to your computer and the other end to the Arduion Leonardo.
Open the Arduio IDE (Integrated Development Environment), Ensure the selected board is "Arduino Leonardo" and the port matches the USB port we plugged in
Now lets add our Aruino code for this setup
// StandardFirmata sketch for Arduino Leonardo

#include <Arduino.h>
#include <Wire.h>
#include <Servo.h>
#include <Firmata.h>

Servo myservo;
bool paused = false;

void setup() {
  Serial.begin(57600);
  while (!Serial) {
    ; // Wait for serial port to connect. Needed for native USB port only
  }

  Firmata.setFirmwareVersion(FIRMATA_FIRMWARE_MAJOR_VERSION, FIRMATA_FIRMWARE_MINOR_VERSION);
  Firmata.begin(Serial);
  myservo.attach(3);  // attaches the servo on pin 3 to the servo object.
  pinMode(4, OUTPUT);
}

void loop() {
  if (!paused) {
    myservo.write(105);
    delay(2000);
    digitalWrite(4, HIGH);   // turn on the shaker
    delay(2000);            //wait for 2 seconds
    digitalWrite(4, LOW);   //turn off the shaker
    delay(100);               //let the previous commands finish
    myservo.write(50);      //position so can look with camera
    Serial.println("Look at skittle"); //tell the webpage to look
    delay(1500); //give servo time to get in position
  }

  while (Serial.available() > 0) {
    int command = Serial.read();
    if (command == 49) {
      // Example: If received command is 0x01, perform some action
      Serial.println("Skittle is Red - cool"); //Move servo to keep it'
      myservo.write(0);    //dump it to the left
      delay(2000);
    }
    else if (command == 50) {
      Serial.println("No Skittle"); //Move Servo back to start and shake
    }
    else if (command == 51) {
      Serial.println("Not Red Skittle"); //Move Servo to dump it'
      myservo.write(270);    //dump it to the right
      delay(3000);
      myservo.write(260);
      delay(200);
      myservo.write(270);

    }
    else if (command == 52) {
      paused = true;
    }
    else if (command == 53) {
      paused = false;
    }
    else {
      Serial.println("What!");
    }
    Serial.println("Waiting");
  }
}
Easy Right!, we'll likely need to revisit and adjust the code to get it set just right for your skittle sorter
Level 4 - Tie it all together - controlled from a webpage.
Create an html document in vs code on your computer in the same folder as your downloaded model and Copy/Paste the code below.
Open with Live Server to view your webpage, connect to and control your Skittle Sorter
Lets talk about the code: What it does and how it works
<html>
    <head>
      <title>
        Sort em and weep
      </title>
    </head>
    <body>
<h1>I only like red skittles machine learning sorter</h1>

1. <button type="button" onclick="init()">Open Camera</button>
<div id="webcam-container"></div>
<div id="label-container"></div>


<div id="output"></div>
  <input type="text" id="inputText" style="display:none;" placeholder="Enter text to send">
  2. <button id="sendButton">Connect</button>

  <button id="pause">Pause</button>
  <button id="unpause">UnPause</button>

<script src="https://cdn.jsdelivr.net/npm/@tensorflow/tfjs@latest/dist/tf.min.js"></script>
<script src="https://cdn.jsdelivr.net/npm/@teachablemachine/image@latest/dist/teachablemachine-image.min.js"></script>
<script type="text/javascript">
    // More API functions here:
    // https://github.com/googlecreativelab/teachablemachine-community/tree/master/libraries/image

    // the link to your model provided by Teachable Machine export panel
    const URL = ""; //leave this blank, we've downloaded the model so it's running locally

    let model, webcam, labelContainer, maxPredictions;

    // Load the image model and setup the webcam
    async function init() {
        const modelURL = URL + "model.json";
        const metadataURL = URL + "metadata.json";

        // load the model and metadata
        model = await tmImage.load(modelURL, metadataURL);
        maxPredictions = model.getTotalClasses();

        // Convenience function to setup a webcam
        const flip = true; // whether to flip the webcam
        webcam = new tmImage.Webcam(200, 200, flip); // width, height, flip
        await webcam.setup(); // request access to the webcam
        await webcam.play();
        window.requestAnimationFrame(loop);

        // append elements to the DOM
        document.getElementById("webcam-container").appendChild(webcam.canvas);
        labelContainer = document.getElementById("label-container");
        for (let i = 0; i < maxPredictions; i++) { // and class labels
            labelContainer.appendChild(document.createElement("div"));
        }
    }

    async function loop() {
        webcam.update(); // update the webcam frame
        await predict();
        window.requestAnimationFrame(loop);
    }

    // run the webcam image through the image model
    async function predict() {
        // predict can take in an image, video or canvas html element
        const prediction = await model.predict(webcam.canvas);
        for (let i = 0; i < maxPredictions; i++) {
            const classPrediction =
                prediction[i].className + ": " + prediction[i].probability.toFixed(2);
            labelContainer.childNodes[i].innerHTML = classPrediction;
        }
    }
    let port;

async function connectArduino() {
  port = await navigator.serial.requestPort();
  await port.open({ baudRate: 57600 });
}

async function sendToArduino(msg) {
  if (!port) {
    console.error('Serial port not initialized');
    return;
  }

  const writer = port.writable.getWriter();
  await writer.write(new TextEncoder().encode(msg));
  writer.releaseLock();
}

async function readFromArduino() {
  if (!port) {
    console.error('Serial port not initialized');
    return;
  }

  const reader = port.readable.getReader();
  while (true) {
    const { value, done } = await reader.read();
    if (done) break;
    const receivedText = new TextDecoder().decode(value);

    if (receivedText.match(/Look at skittle/)) {
        setTimeout(() => { lookAtSkittle(); }, "1000");
    }

    document.getElementById('output').textContent = receivedText;
  }
  reader.releaseLock();
}

document.getElementById('sendButton').addEventListener('click', async () => {
  await connectArduino();
  const inputText = document.getElementById('inputText').value;
  await sendToArduino(inputText);
  await readFromArduino();
});

document.getElementById('pause').addEventListener('click', async () => {
    await sendToArduino(4); //1 = 49 (red Skittle), 2 = 50 (no Skittle), 3 = 51 (Non Red Skittle), 4 = 52 (pause), 5 = 53 (unpause)
});

document.getElementById('unpause').addEventListener('click', async () => {
    await sendToArduino(5); //1 = 49 (red Skittle), 2 = 50 (no Skittle), 3 = 51 (Non Red Skittle), 4 = 52 (pause), 5 = 53 (unpause)
});

async function lookAtSkittle(){
    let redSkittleScoreDiv = document.getElementById('label-container').getElementsByTagName('div')[0].textContent;
    let noSkittleScoreDiv = document.getElementById('label-container').getElementsByTagName('div')[1].textContent;
    let notRedSkittleScoreDiv = document.getElementById('label-container').getElementsByTagName('div')[2].textContent;

    let redSkittleScoreParts = redSkittleScoreDiv.split(": ");
    let noSkittleScoreParts = noSkittleScoreDiv.split(": ");
    let notRedSkittleScoreParts = notRedSkittleScoreDiv.split(": ");

    let redSkittleScore = redSkittleScoreParts[1];
    let noSkittleScore = noSkittleScoreParts[1];
    let notRedSkittleScore = notRedSkittleScoreParts[1];


    if (redSkittleScore > noSkittleScore && redSkittleScore > notRedSkittleScore) {
         //if the skittle is red
        await sendToArduino(1);
        document.getElementById('output').textContent = "Yeah! Red Skittles Rule";
    }
    else if (noSkittleScore > redSkittleScore && noSkittleScore > notRedSkittleScore){
        //there is no skittle
        await sendToArduino(2);
        document.getElementById('output').textContent = "No skittle detected";
    }
    else if (notRedSkittleScore

 > redSkittleScore && notRedSkittleScore > noSkittleScore){
    //if the skittle is not red
        await sendToArduino(3);
        document.getElementById('output').textContent = "Not red skittle detected";
    }
    else {
        document.getElementById('output').textContent = "Error: Unknown Skittle Scores";
    }
}

</script>

</body>
</html>